

How to install SalesGroup Ai in Magento
In this guide, we’ll walk you through the process of integrating the SalesGroup.ai AI-powered chatbot into your Magento website. By following these steps, you’ll have an intelligent AI assistant ready to engage with customers and improve interactions on your eCommerce platform.
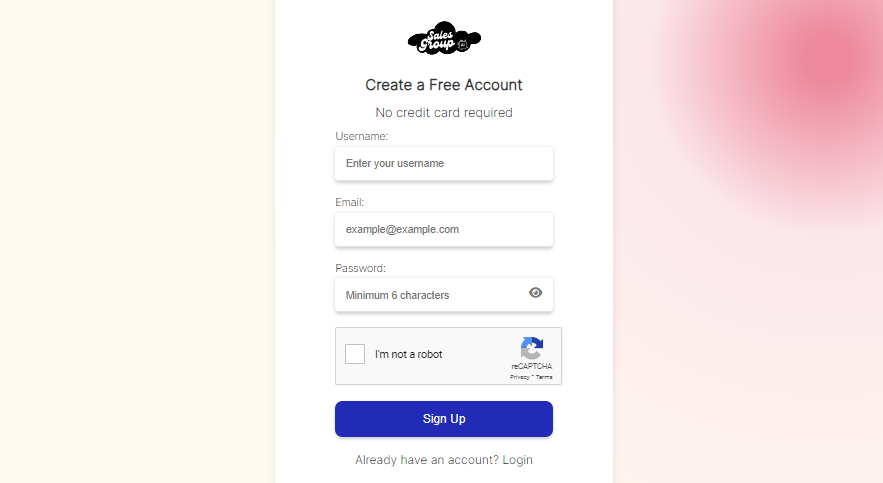
Step 1: Log in to Your SalesGroup AI Account
Start by visiting the SalesGroup AI website and logging into your account. Once logged in, you’ll be taken to the AI Playground where you can set up and customize your chatbot.
Step 2: Configure the AI Playground
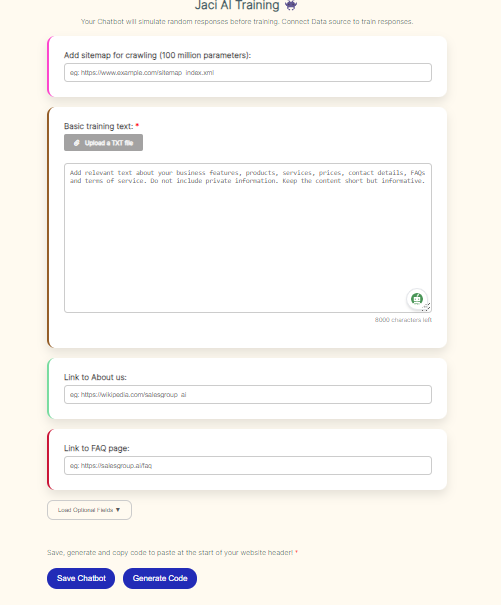
In the AI Playground, you can fine-tune the chatbot’s behavior and appearance to align with your brand. Here’s what to do:
- Training Data: Upload or input any training data that the AI will use to provide accurate responses to customer queries.
- Customization: Customize the appearance of the chatbot to match your store’s branding. Adjust colors, fonts, and button designs to fit your eCommerce site.
Take your time to configure the settings to your satisfaction, ensuring that the chatbot matches both your business needs and visual identity.
Related: How to add SalesGroup AI on Weebly
Step 3: Save and Generate the Integration Code
Once you’re done customizing the chatbot, click Save. The system will then generate a code snippet that you will use to embed the chatbot into your Magento website.
- Copy the code snippet to your clipboard for the next step.
Step 4: Log in to Your Magento Admin Panel
Head over to your Magento Admin Panel by navigating to your Magento store’s backend (yourstore.com/admin) and log in using your credentials.
Related:
Step 5: Insert the Code Snippet into Magento
To add the SalesGroup AI chatbot to your Magento site, follow these steps:
Option 1: Add the Chatbot Site-Wide (Global)
- From the Magento Admin Panel, go to Content > Design > Configuration.
- Select the store view where you want the chatbot to appear (e.g., the default store view or a specific one).
- Scroll down to the HTML Head section and click Edit.
- In the Scripts and Style Sheets field, paste the SalesGroup AI code snippet.
- Click Save Configuration to apply the changes site-wide.
Option 2: Add the Chatbot to Specific Pages
- In the Admin Panel, navigate to Content > Pages.
- Select the page where you want the chatbot to appear.
- Click Edit and find the Content section.
- In the HTML editor, paste the SalesGroup AI code snippet.
- Save the changes to add the chatbot to that specific page.
Related: How to Install SalesGroup.ai on Joomla
Step 6: Preview and Test the Chatbot
After saving the changes, go to the front end of your Magento store to ensure that the chatbot is live and functioning properly.
- Interact with the chatbot to test its responses and ensure it’s providing a smooth user experience.
Conclusion
By following these steps, you’ve successfully integrated SalesGroup AI into your Magento store. The chatbot will now engage with your customers, providing real-time assistance and helping improve customer satisfaction. If you encounter any issues, double-check the code placement or revisit the customization options in the AI Playground.
