

How to install SalesGroup Ai on WooCommerce
In this guide, We will show you how to install SalesGroup AI on WooCommerce. By following these steps, you’ll have a fully functional AI assistant ready to enhance customer interactions and improve the shopping experience on your WooCommerce site.
Table of Contents
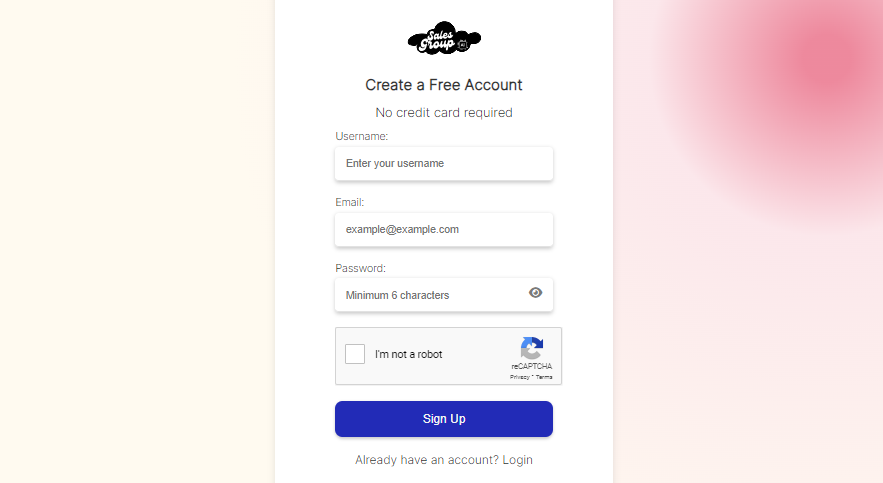
Step 1: Log in to Your SalesGroup AI Account
To begin, navigate to the SalesGroup AI website and log into your account. Once logged in, you’ll be directed to the AI Playground. This is the central hub where you can set up and customize your AI-powered chatbot.
Step 2: Configure the AI Playground
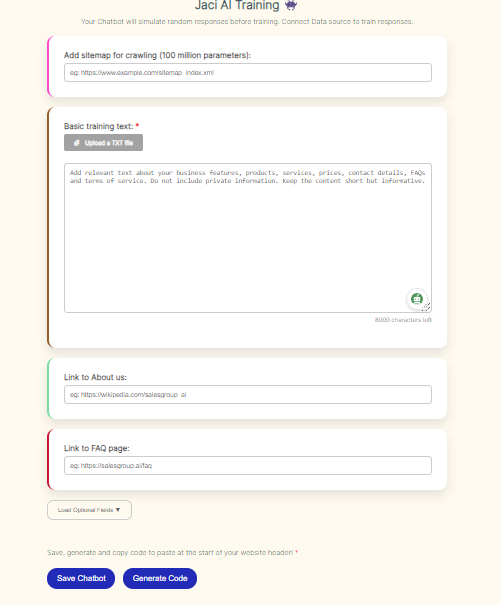
In the AI Playground, you’ll find options to tailor your chatbot’s behavior, appearance, and functionality. Fill in the necessary information, such as:
- Training Data: Upload or enter any training data that the AI will use to interact with customers. This ensures the chatbot provides accurate and personalized responses.
- Customization: Adjust the chatbot’s look and feel to align with your brand. You can change the color, button design, and other visual elements to match your WooCommerce store.
Take your time to review the options and tweak the settings to match your brand and customer service needs.
Related: How to Install SalesGroup.ai on Shopware
Step 3: Save and Generate the Integration Code
Once you’ve configured the chatbot with the necessary data and customizations, click Save.
- After saving, SalesGroup AI will automatically generate a snippet of code. This is the code you’ll need to integrate the chatbot into your WooCommerce store.
- Copy the code provided.
Step 4: Log in to Your WordPress Dashboard
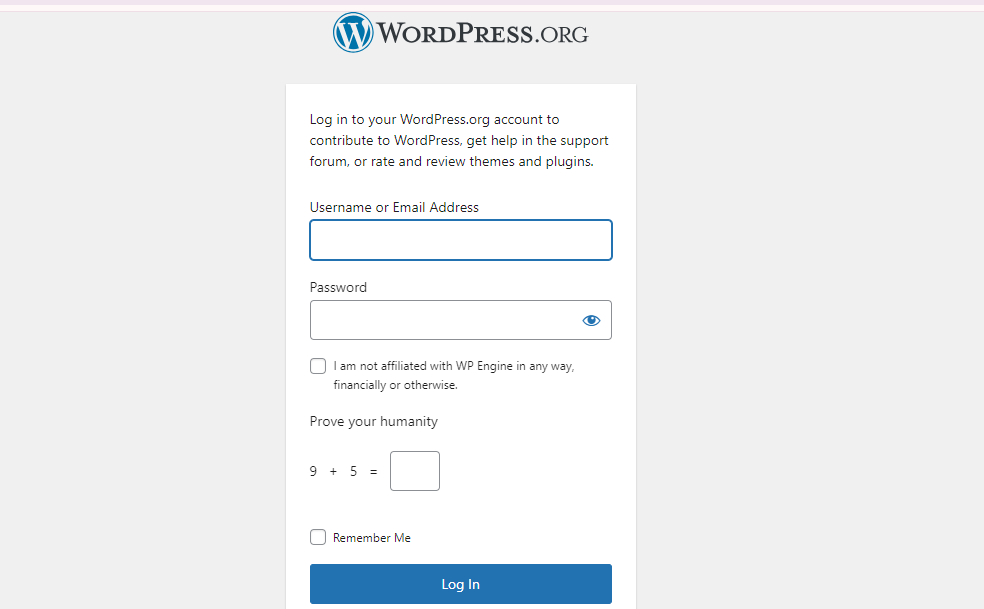
Next, log in to your WordPress Dashboard, where WooCommerce is installed.
- Visit yourdomain.com/wp-admin and enter your login credentials.
Step 5: Add the Code Snippet to WooCommerce
Now, you need to add the SalesGroup AI code snippet to your WooCommerce site. You can either add it globally or to specific pages. Below are the methods:
Option 1: Adding the Code Site-Wide (Global)
- In your WordPress Dashboard, go to Appearance > Theme File Editor.
- Select the Theme Header (header.php) file.
- Paste the SalesGroup AI code snippet right before the closing </head> tag.
- Click Update File.
Option 2: Adding the Code to Specific WooCommerce Pages
If you want the chatbot to appear only on specific WooCommerce pages like your product pages or checkout, follow these steps:
- Go to WooCommerce > Settings.
- Click on Advanced and select Custom Code (if available) or use a Code Snippet Plugin (e.g., WPCode or Insert Headers and Footers).
- Paste the SalesGroup AI code snippet in the appropriate area (e.g., Product Pages, Cart, or Checkout).
- Save the settings.
Related: How to Install SalesGroup AI on Shopify.
Step 6: Preview and Test the Chatbot
After saving your changes, visit the front end of your WooCommerce store to ensure the SalesGroup AI chatbot is properly integrated and visible.
- Test the chatbot to verify its functionality by interacting with it as a customer would.
By following these steps, you’ll have successfully integrated SalesGroup AI into your WooCommerce store, enhancing customer service and engagement. If the chatbot is not displaying as expected, double-check the code placement or configuration settings in the AI Playground.
