

How to add Live Chat to Website Easily [10 Steps]
If you own a business or website, whether it’s an e-commerce store, a restaurant, or any sales-driven platform, and you’re looking for ways to integrate live chat into your site to enhance customer support and improve user retention, you’re in the right place!
In this guide, I’ll walk you through effective methods to add live chat to your website, helping you boost customer satisfaction and take your user engagement to the next level.
Let’s get started!
Before we dive in, Lets take a look at some of the benefits of adding live chat to a website:
- 51% of customers choose live chat as their preferred communication method while multitasking, valuing its convenience and efficiency.
- 53% of businesses successfully resolve the majority of complaints during the very first live chat session, showcasing its effectiveness in customer support.
- 60% of customers are more inclined to return to a website that offers live chat, appreciating the instant assistance it provides.
- 42% of customers favor live chat over phone support, as it eliminates the need to wait on hold, offering a quicker and more seamless experience.
Now! Let’s have a look at how to add live chat to website
Table of Contents
How to add Live Chat to Website?

To get the most out of this guide, I highly recommend signing up for the SalesGroup Live Chat. By doing so, you’ll be able to follow this step-by-step guide more effectively and experience the benefits firsthand. Let’s dive in and get started!
1. Pick the right Live Chat Platform
Choosing the right chatbot platform is the foundation of successfully implementing a chatbot that meets your business needs. With so many options available, it’s essential to evaluate platforms carefully to ensure they align with your goals, target audience, and technical capabilities. Here’s how to approach this step:
Understand Your Business Needs
Before selecting a platform, outline what you aim to achieve with your chatbot.
- Are you looking to automate customer service?
- Do you need to generate leads or guide users through a sales funnel?
- Will the chatbot handle simple FAQs or complex queries that require AI-driven responses?
Having a clear objective will help you narrow down platforms that specialize in your desired features.
Key Features to Consider
When comparing chatbot platforms, consider the following critical features:
- Ease of Use: Look for platforms with drag-and-drop builders or simple interfaces if you’re not tech-savvy.
- Customization Options: Ensure the platform allows you to design a chatbot that fits your branding, tone, and style.
- AI Capabilities: For advanced needs, choose a platform that uses AI and machine learning to provide personalized, context-aware responses.
- Integration Support: Select a platform that integrates seamlessly with your existing tools, such as CRM systems, email marketing software, or e-commerce platforms.
- Multi-Channel Support: If you want your chatbot to operate on more than just your website, ensure the platform supports additional channels like social media, messaging apps, and email.
Scalability
As your business grows, so will your chatbot requirements. Choose a platform that can scale alongside your business by offering advanced features, additional integrations, or increased capacity to handle more interactions.
Pricing
Platforms often come with different pricing models, ranging from pay-as-you-go to monthly subscriptions. Analyze your budget and choose a platform that provides the best balance of cost and functionality for your needs.
Testing and Reviews
Take advantage of free trials and demo versions to test the platform’s capabilities. Additionally, research reviews and testimonials from other businesses to get an idea of the platform’s performance and customer support.
2. Train Your AI
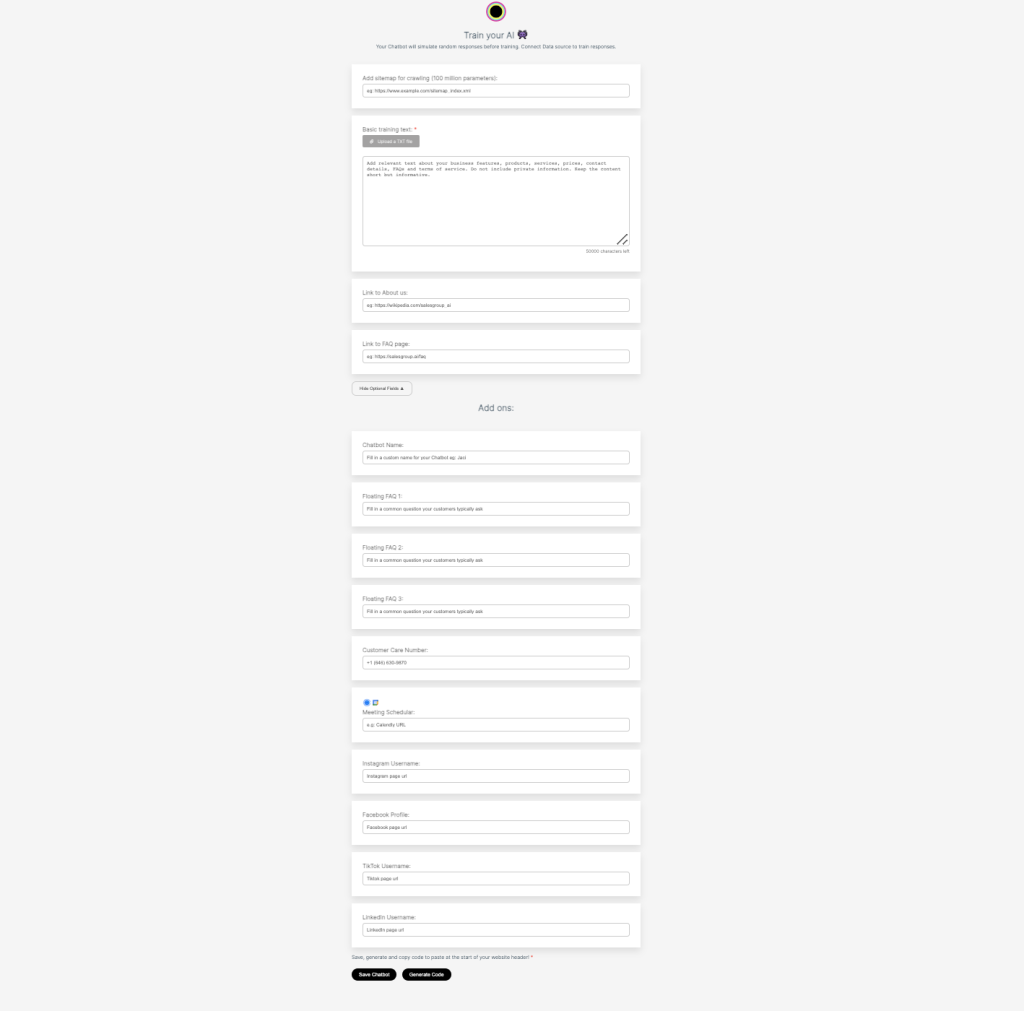
Sitemap for Crawling:
- An input field for adding your website’s sitemap URL (e.g.,
https://www.example.com/sitemap.xml). - The chatbot crawls the sitemap to gather essential data about your website’s structure, including pages, categories, and product details, improving its ability to generate accurate and relevant responses.
- To use, simply paste your sitemap URL into the field and let the system analyze it.
Basic Training Text (Required):
- A large text box where users can input up to 50,000 characters of training data, such as business features, services, product details, and other essential information (excluding sensitive data).
- This forms the basis for the chatbot’s responses, ensuring it understands the core offerings and functionality of your business.
Link to ‘About Us’:
- A field where you can add the URL to your website’s “About Us” page.
- Helps the chatbot learn more about the company’s background, mission, and values, enabling it to answer queries about your business with better context.
Link to FAQ Page:
- A field to add the URL of your FAQ page.
- This allows the chatbot to access commonly asked questions and answers directly, improving accuracy when handling customer queries.
2. Add-ons Section
Chatbot Name:
- A customizable field where you can give your chatbot a unique name, such as “Jedi” or “Assistly.”
- Personalizing the chatbot’s name adds a human touch and aligns it with your branding.
Floating FAQs (1–3):
- Input fields to add commonly asked questions that users typically ask.
- Pre-set answers to these FAQs are stored for the chatbot to provide quick and consistent responses, improving user satisfaction.
Customer Care Number:
- A field to input your customer support phone number.
- Makes it easy for users to reach out to your customer care team if needed.
Meeting Scheduler (e.g., Calendly URL):
- An input field to add a scheduling tool URL, such as Calendly.
- Enables users to book meetings or appointments directly from the chatbot interface.
Social Media Links:
- Dedicated fields to add your Instagram username and Facebook profile URL.
- Makes it convenient for users to connect with your business on social media, boosting engagement and brand visibility.
By using these features, you can train your chatbot effectively while adding enhancements that make it more interactive and customer-friendly.
3. Integrate Chat Into Your Website
Once you’ve chosen the right chatbot platform, the next step is to integrate it into your website. A properly integrated chatbot can improve user engagement, reduce bounce rates, and provide instant assistance to your visitors. Here’s a step-by-step guide to help you:
Step 1: Access the Integration Code or Plugin
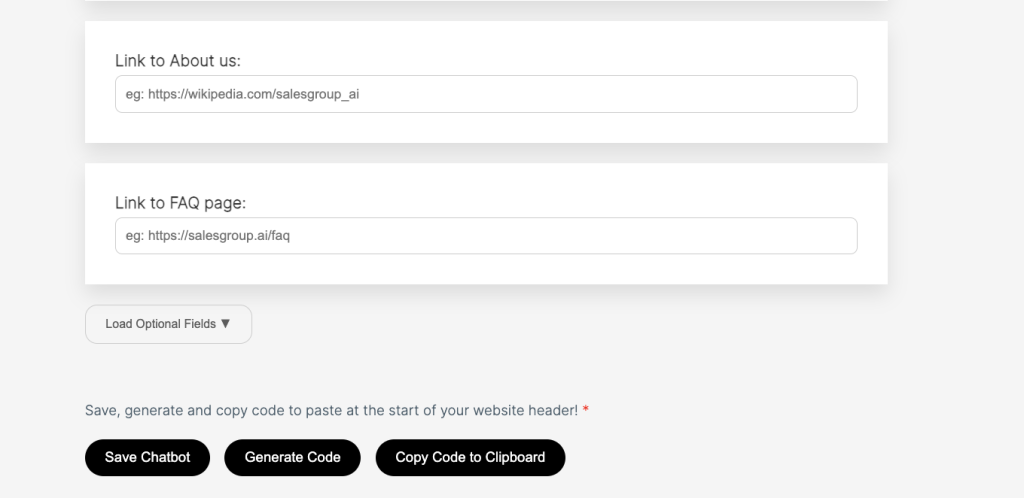
Most chatbot platforms offer two primary ways to integrate their chat tools into your website:
- HTML Code Snippet: This is a small piece of code that you’ll copy from the chatbot platform’s dashboard.
- CMS Plugins: For websites built on platforms like WordPress, Shopify, or Wix, the chatbot service may provide plugins or apps that make the integration process simple.
Step 2: Place the Code on Your Website
If you’re using the HTML code snippet, follow these steps:
- Log in to your website’s backend or Content Management System (CMS).
- Locate the header or footer section of your website where custom scripts can be added.
- Paste the code snippet into the designated area. Most platforms recommend placing it in the footer for optimal performance.
- Save and publish the changes.
For CMS plugins:
- Install the plugin provided by the chatbot platform.
- Configure the plugin by entering your chatbot credentials (e.g., API key or account ID).
- Enable the chat widget to make it visible on your website.
You can also read our guide on how to integrate chat to your CMS:
- How to install Salesgroup AI on Jimdo
- How to install SalesGroup Ai on WooCommerce
- How to Install SalesGroup AI on Shopify.
- How to install SalesGroup Ai in Magento
- How to Install SalesGroup.ai on Drupal
You can also read this article on how to train AI chatbot
4. Customize the Chat Widget
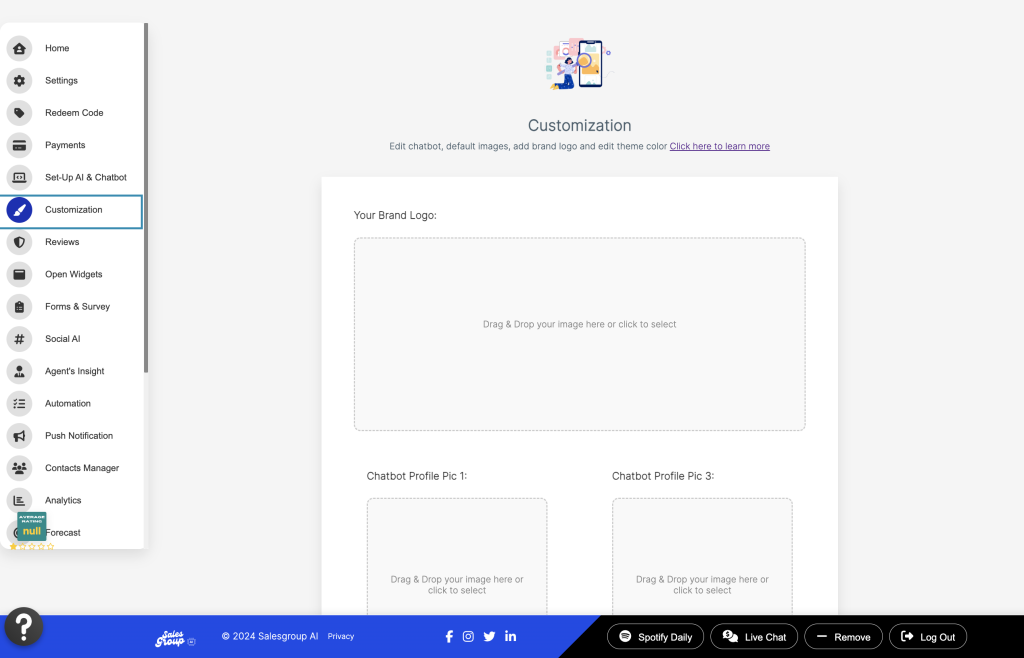
After integrating the chatbot, customize its appearance to align with your website’s branding. Most platforms allow you to adjust:
To do that, navigate to the “Customization tab” on the AI dashboard, a list of customization features would be displayed:
1. Brand Logo Section:
Purpose: Upload your brand’s logo to help personalize the chatbot and align it with your brand’s visual identity.
Instructions:
- Simply drag and drop your logo image or click to select an image file from your device.
Use: - This section allows you to incorporate your brand’s logo into the chatbot, ensuring the conversation feels consistent with your brand’s visual style.
2. Chatbot Profile Pictures (Chatbot Profile Pic 1 to 4):
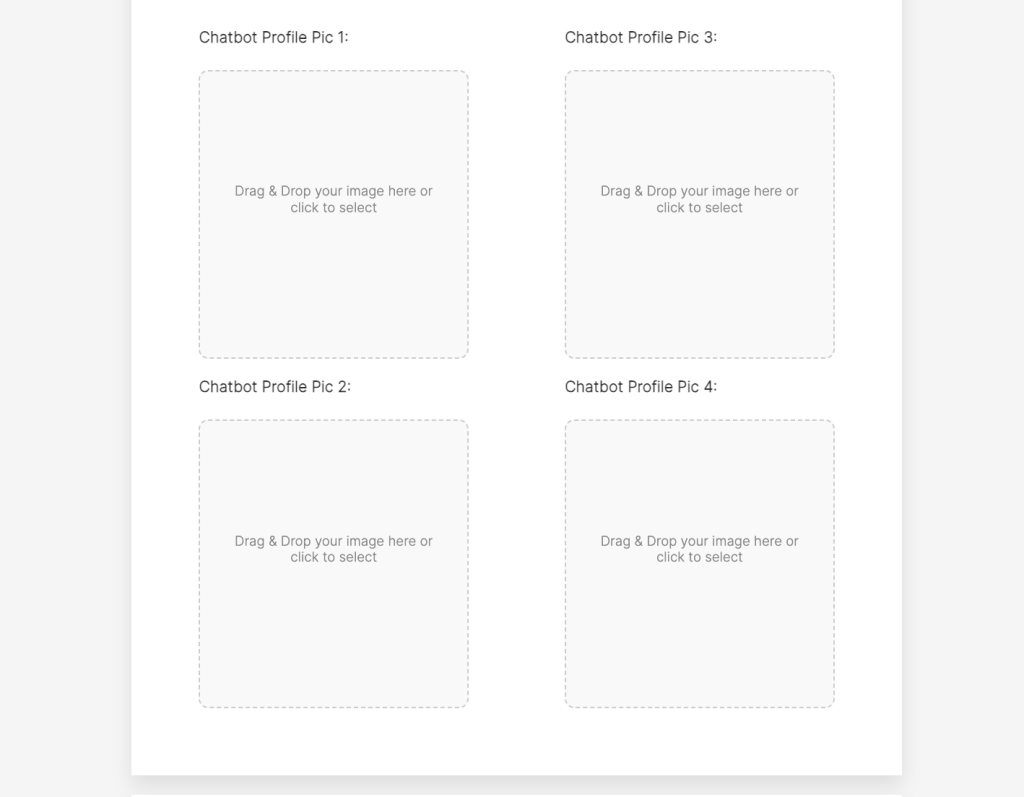
Purpose: Upload multiple profile pictures for your chatbot to diversify its appearance.
Instructions:
- Each box provides an option to drag and drop an image or click to upload an image from your device.
Use: - Use different avatars or profile images for various contexts or personas. This customization allows you to create a more engaging chatbot that adapts to different user interactions. For example, you might use one avatar for friendly customer support and another for sales inquiries.
3. Chatbot Theme Color:

Color Picker:
Purpose: Choose a primary color for your chatbot’s theme using the color wheel. You can either select a color directly or enter a specific hex code for precise color matching.
Instructions:
- Click on the color wheel to select your desired theme color.
- If needed, manually enter a hex code (e.g., #FF5733) to get the exact color.
Gradient Direction:
Purpose: Select the direction for a gradient effect. You can opt for directions such as Right, Left, or even Diagonal, depending on your design preference.
Add Color Stop:
Purpose: Add multiple colors to create a gradient effect, enhancing the visual appeal of the chatbot.
Color Gradient Preview:
Purpose: The preview section will show you how your selected theme color or gradient will appear on the chatbot.
Use: - By customizing the theme color and gradient, you can match the chatbot’s look to your brand’s color palette. This feature enables a seamless, professional, and visually appealing chatbot experience for users.
Save Customizations:
Save all the changes you’ve made to the chatbot’s appearance, including the logo, profile pictures, theme color, and gradient settings
To reset customizations to default, you can on the “reset customization” button

Chatbot Type Selection
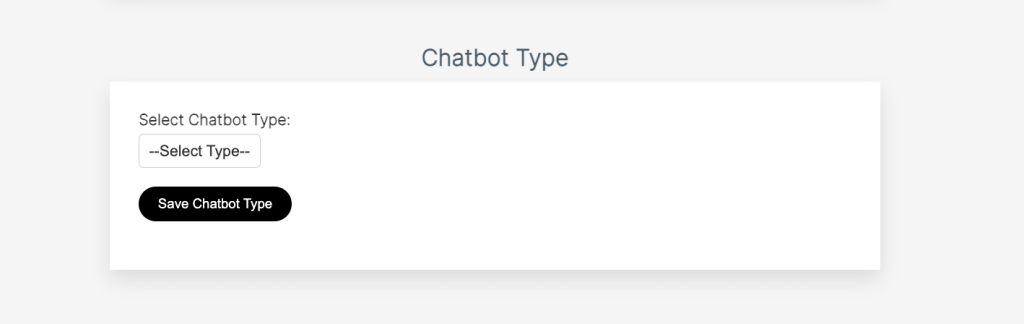
Dropdown Menu:
- A dropdown menu allows you to select the role your chatbot will play based on your business needs.
Options to Choose From:
- Sales: Ideal for chatbots designed to assist in generating leads, answering sales inquiries, or guiding customers through the purchasing process.
- Support: Focuses on customer service by helping users troubleshoot issues, respond to queries, or provide instant solutions.
- Marketing: Engages users through promotions, collects feedback, and helps in campaigns by offering recommendations or highlighting special offers.
Purpose:
- The selected role determines how the chatbot will interact with users. For example:
- A Sales chatbot might respond to “Do you have discounts on X product?” with targeted offers.
- A Support chatbot would focus on resolving issues like “How do I reset my password?”
- A Marketing chatbot could initiate conversations like “Have you checked out our latest collection?”
5. Integrate with Telegram
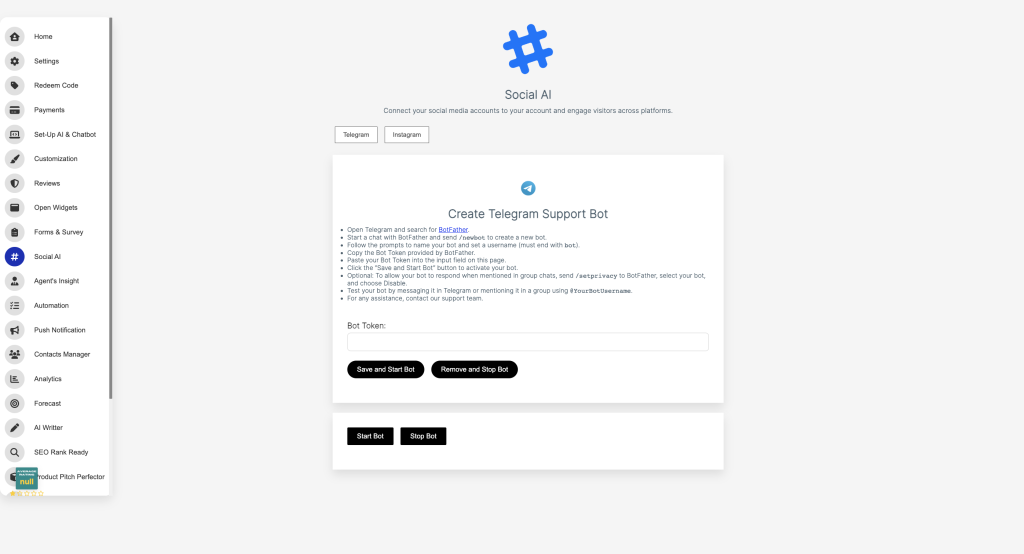
To integrate with Telegram, read our quick guide on how to do that here
6. Add Live Chat Agent
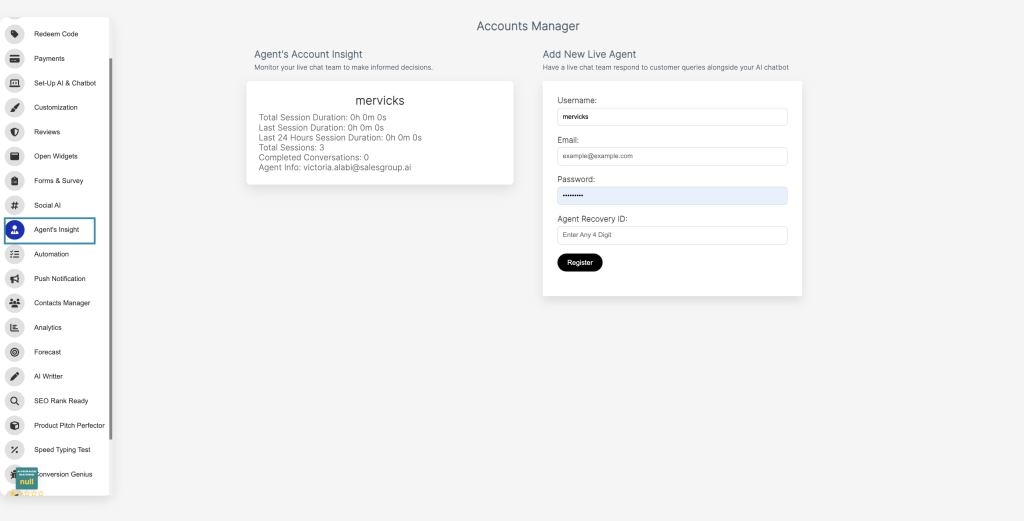
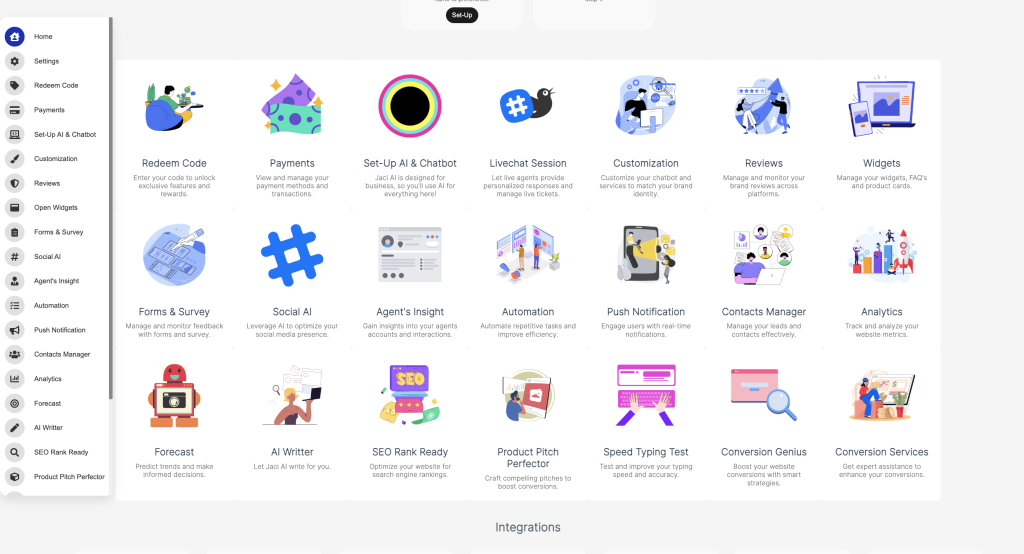
- Navigate to the “Agent’s Insight” Section:
- On the left-hand menu, locate and click on “Agent’s Insight” (icon with a person symbol).
- This section provides insights on agent activities and allows adding new agents.
- Access the “Accounts Manager” Panel:
- On the right side, under “Accounts Manager,” find the option to add a new live chat agent.
- Fill in Agent Information:
- Username: Enter the desired username for the live agent (e.g., mervicks).
- Email: Provide the agent’s email address (e.g., [email protected]).
- Password: Create a secure password for the agent’s login.
- Agent Recovery ID: Enter any 4-digit recovery ID (useful for account recovery).
- Register the Agent:
- Once all fields are completed, click the “Register” button to add the agent.
- Review Agent’s Account Insight:
- After registration, agent activity can be monitored in the “Agent’s Account Insight” section.
- Metrics displayed include:
- Total Session Duration
- Last Session Duration
- Last 24 Hours Session Duration
- Completed Conversations
- Agent Info
7. Settings Overview
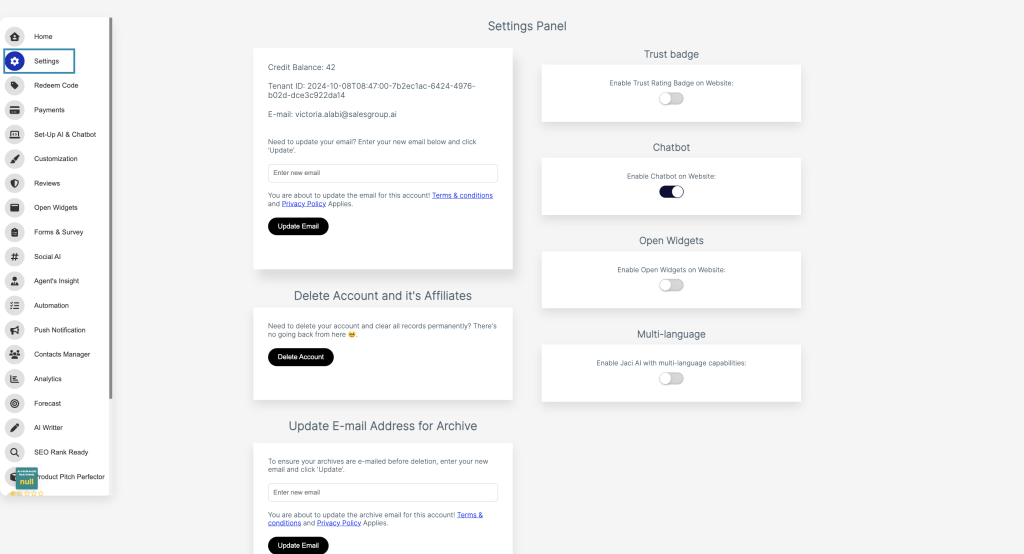
- Navigate to the Settings Overview section in your account.
- Locate the Chatbot option from the list of available settings.
- Toggle the switch to On to activate the chatbot functionality on your website.
Once enabled, the chatbot will be live and ready to interact with your website visitors.
8. Navigate to the “Live Chat Session”
To access the “Live Chat Session”, Navigate to the “Home” section, the section provides an overview of the AI dashboard, Click on the Live chat session; This gives an update on what’s going on

Sidebar Menu Features
- Reload Chat:
- Refreshes the chat session, updating messages or system status.
- Ensures you have the latest information and avoids delays caused by session lags.
- My Account:
- Grants access to personal account settings, where users can view or update profile details and preferences.
- Re-assign User:
- Allows chat sessions to be transferred to another agent or department.
- Facilitates better management by ensuring the right team handles customer queries.
- Leads Manager:
- Manages potential client data derived from chat interactions.
- Organizes and tracks leads, enabling businesses to follow up on sales opportunities effectively.
- Push Notification:
- Sends updates or alerts to users about new messages, system changes, or important updates.
- Coaching:
- Designed for supervisors to monitor, assist, or train chat agents in real time.
- Enhances agent performance through on-the-spot feedback and guidance.
- Log Out:
- Safely logs the user out of the live chat system to secure their account and data.
Chat Window Overview
Ticket Status Section
- Closed Tickets and Open Tickets:
- Displays counts of resolved (closed) and ongoing (open) support tickets.
- Helps agents and managers track performance and workload.
- Search Function:
- A search bar at the top right to locate specific users, chats, or tickets.
- Essential for managing high volumes of conversations efficiently.
This layout ensures smooth navigation and efficient management of chat interactions, support tickets, and team operations.
9. Test the Integration
Before launching the chatbot live, test its functionality to ensure:
- It loads correctly on all pages.
- It works across different devices (desktop, tablet, and mobile).
- The chatbot responds as expected and integrates with your existing tools like CRM or email.
10. Monitor and Optimize
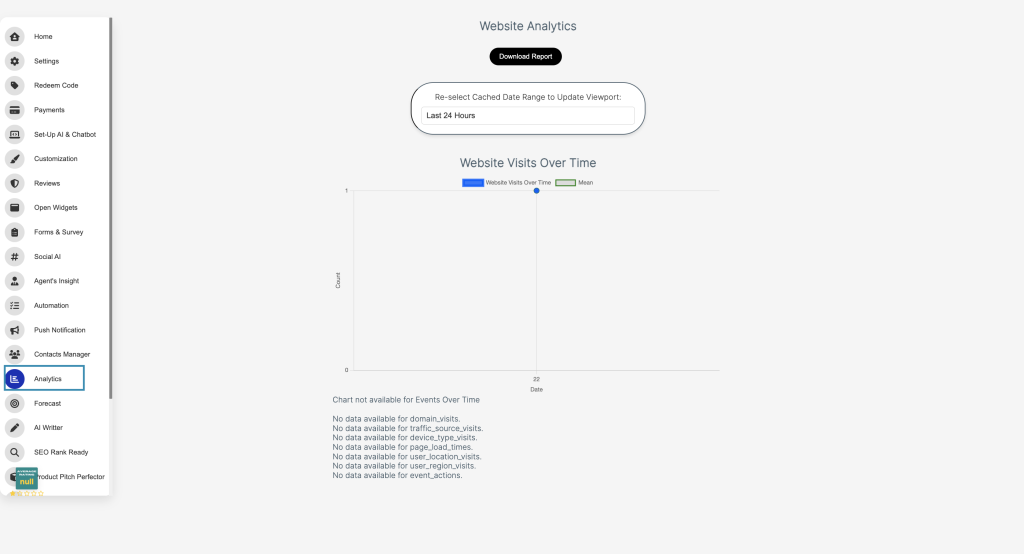
Once live, monitor the chatbot’s performance. Check analytics provided by our platform to track metrics such as:
- domain visits.
- Average response times.
- event actions.
Use these insights to refine the chatbot’s scripts, workflows, and overall functionality.
Why add Live Chat to Your Business?
- Enhanced Customer Support:
Live chat provides instant assistance, ensuring that customers’ queries are resolved quickly, which leads to higher satisfaction levels. - Improved User Retention:
Businesses with live chat experience better customer retention rates, as the tool enables real-time support and personalized engagement. - Increased Sales and Conversions:
Live chat can help guide potential customers through their buying journey, answering questions and reducing cart abandonment. This can lead to a 40% increase in conversions. - Cost-Effective Support Solution:
Unlike traditional customer support channels, live chat allows one agent to handle multiple conversations at once, reducing operational costs. - Better Customer Insights:
With live chat, you gain access to valuable data like customer preferences, frequently asked questions, and common issues, enabling you to optimize your offerings
Key Takeaway
Incorporating live chat into your website is a game-changer for businesses aiming to deliver exceptional customer experiences. Live chat enables real-time communication, resolves customer issues promptly, and fosters a personalized connection with your audience. These benefits not only enhance customer satisfaction but also lead to increased sales, improved retention, and valuable insights into customer behavior.
Setting up live chat is a straightforward process:
- Pick the right Live Chat Platform
- Train Your AI
- integrate Chat Into Your Website
- Customize the Chat Widget
- Integrate with Telegram
- Add Live Chat Agent
- Settings Overview
- Navigate to the “Live Chat Session”
- Test the Integration
- Monitor and Optimize
If you followed this step to the end, you now know how to add live chat to website, ensure to personalize your customization process so that it suits your brand, you should try salesgroup Live Chat today!